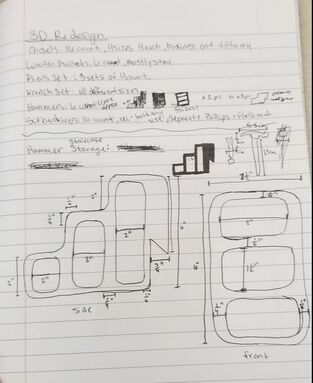
Brainstorming/ Initial design
|
|
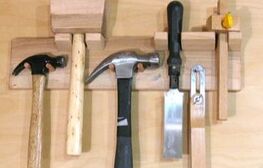
My idea for this hammer holder stemmed from some of the more common ways to store hammers (right). However, in the interest of aesthetic appeal as well as saving wall space, I wanted to have my design protrude from the wall, so it could hold multiple hammers in about the same amount of wall space as one hammer from one of the common designs. I came up with a staircase type of design with lots of open space to cut down on material use, without totally compromising the stability of the design.
|
Print 1 Process
|
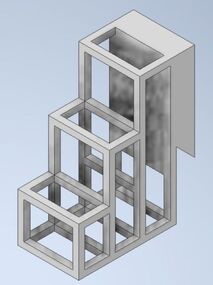
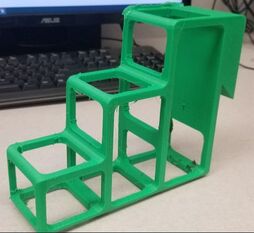
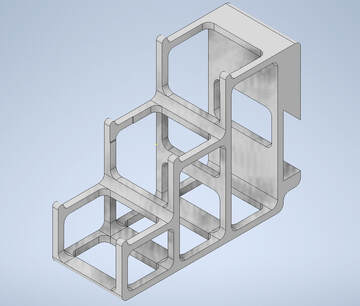
I started in Inventor formulating the design and getting it in front of me without any measurements so that I could visualize it better and come up with some changes that would work better.
|
|
|
|
|
|
|
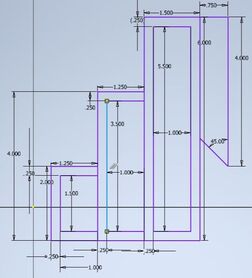
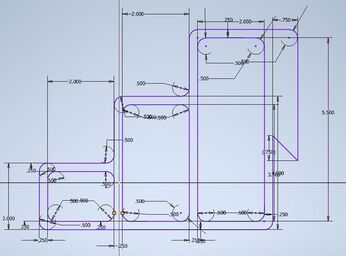
On my second design for my first print, I actually incorporated the measurements from the hammer into the design. I also rounded the sharp corners. By making holes in every side of the holder, I was able to keep the amount of filament used down, while also leaving enough supports to have it still be strong.
NOTES
|
|
Print 2 Process
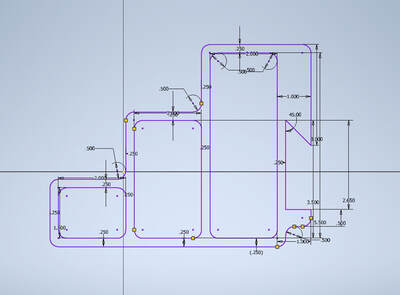
I applied each of my notes about my first print. On the initial sketch, the only difference you can see is the lip I added under the French cleat.
My finished sketch had lips on the top of each section, and was extruded to 3 inches as opposed to the original 2.5 inches.
My finished sketch had lips on the top of each section, and was extruded to 3 inches as opposed to the original 2.5 inches.
|
|
|
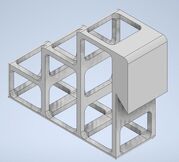
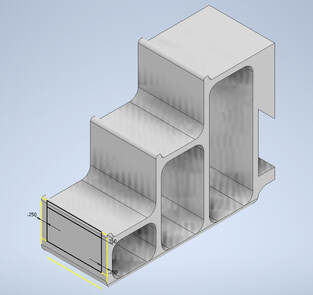
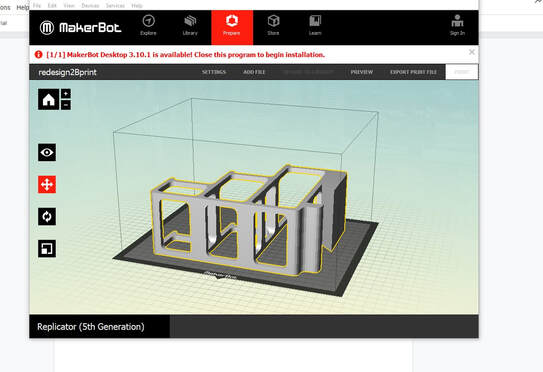
With all of the cut outs sketched and extruded onto the Inventor design, you can see how I removed the support across the fronts. It allows for the hammers to fit in easier since they don't have to be placed perfectly vertical, the lip allows the hammers to not fall off the edge if they are knocked.
|
|
|
|
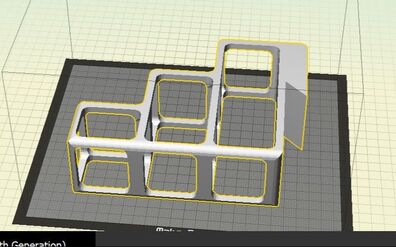
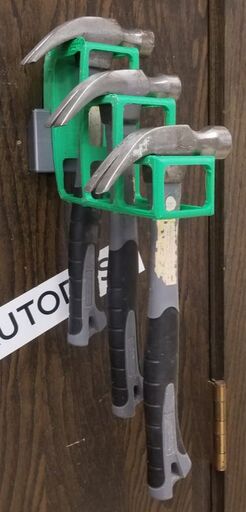
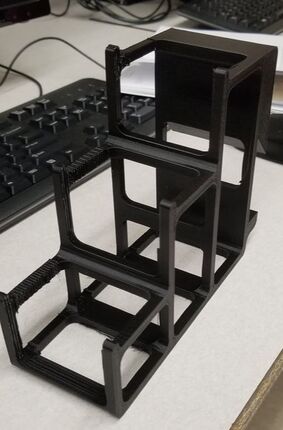
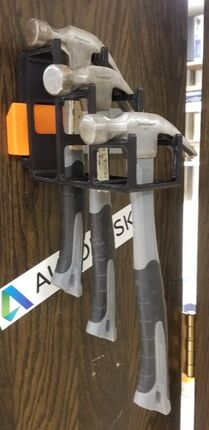
With the changes I made, my final print did exactly how I wanted it to. It was more stable on the wall and it won't accidentally get knocked off. And the hammers fit much easier.
|
|
Overview
Through this redesign project unit I learned about the process of designing, it doesn't take one try, there are a lot of notes to make from each attempt. I also learned better how to create fairly complex 3D items in inventor, which should help me throughout my final projects, because there are a few things I will need to create 3D prints for that might be difficult, and now I have some extra experience.
